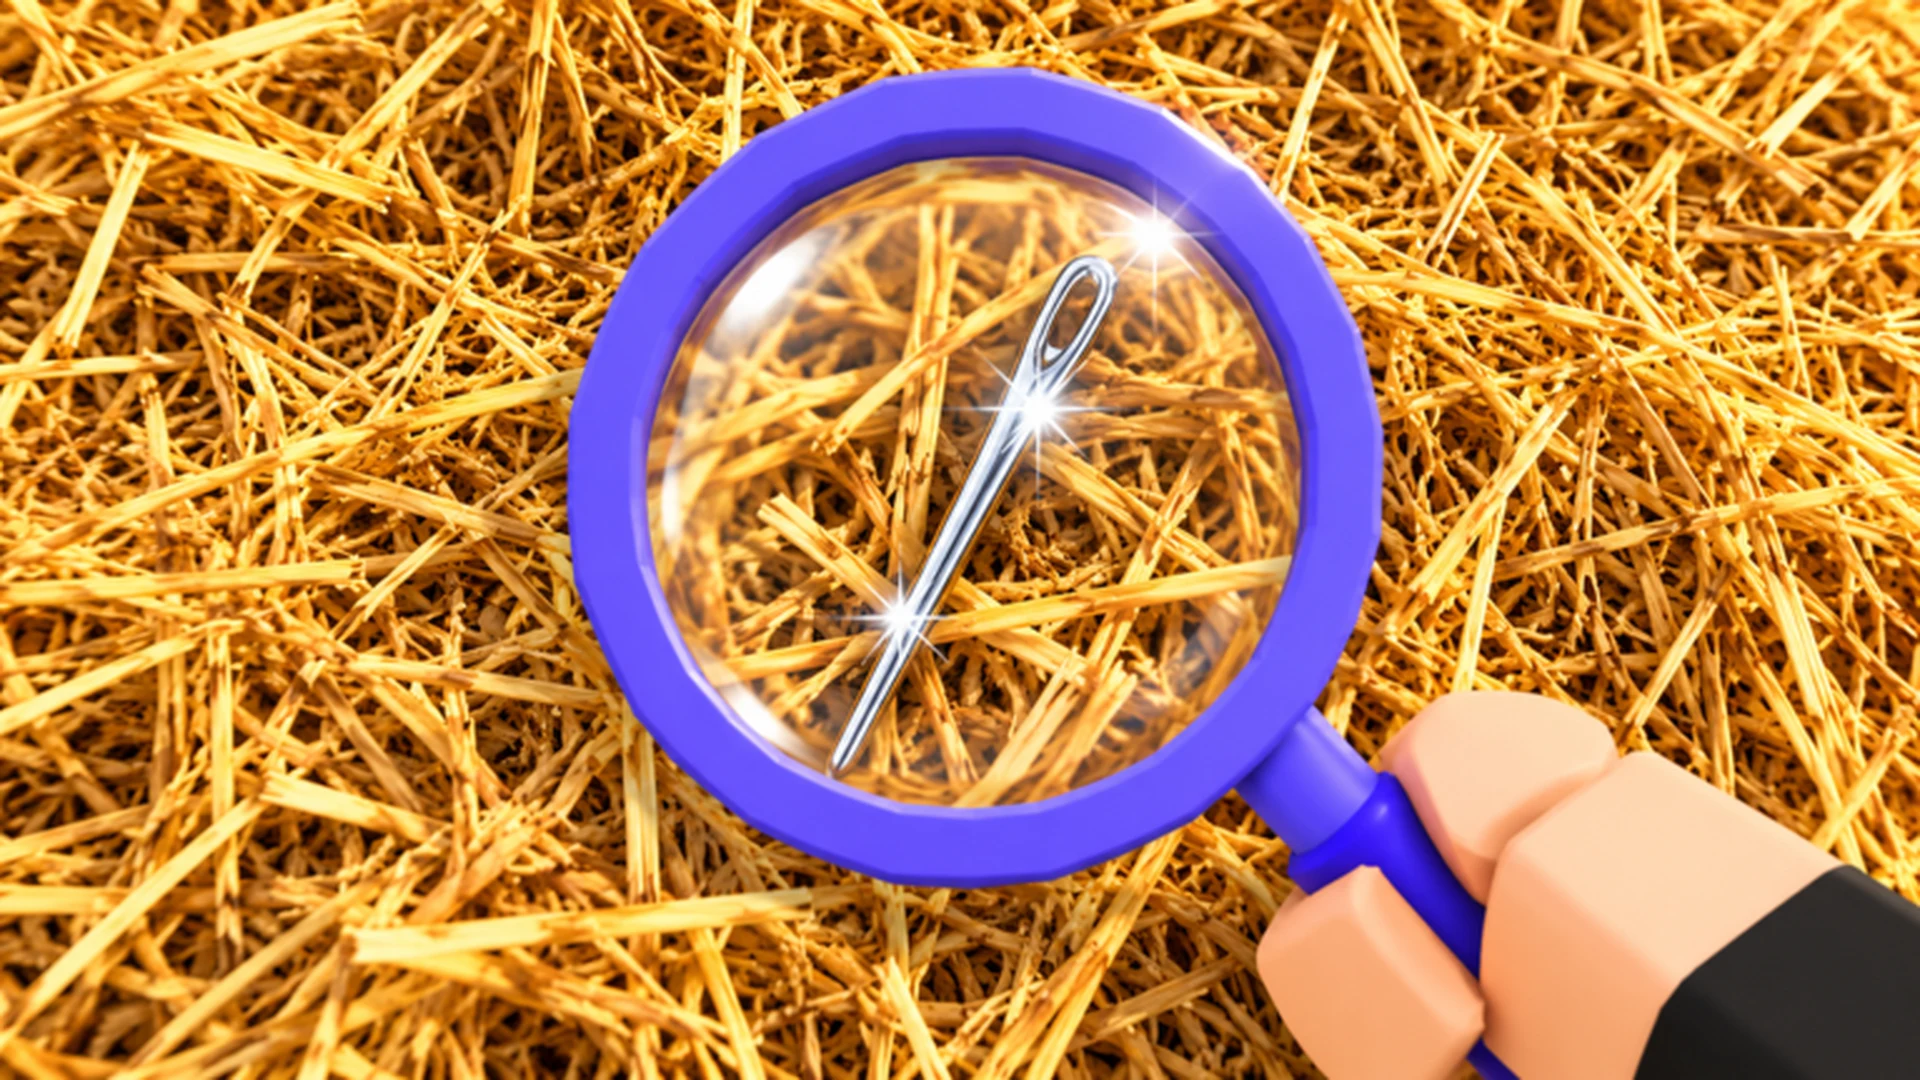
- Find the Needle how to find the needle: Search exposed holes instead of clearing the entire stack randomly.
- Best opening: Upgrade speed, grasp, and storage before buying larger clearing tools.
- Efficient route: Sell hay often, collect rainbow hay, and use gems toward the drone.
- Power spike: The pitchfork, dynamite, and leaf blower each improve a different stage of the search.
- Final check: Inspect the exposed interior carefully before spending more on upgrades.
Find the Needle how to find the needle
Find the Needle is a Roblox search-and-upgrade experience centered on clearing a massive haystack for one small silver needle. The fastest approach is not to sweep every part evenly. Build a workable hole, improve your carrying capacity, and use stronger tools to expose deeper areas.
Video Highlights:
- The needle can appear inside the haystack rather than on the surface.
- Rainbow hay provides better selling value than ordinary hay.
- Gems can be collected while digging and used to unlock the drone.
- The pitchfork and dynamite make deeper searches much faster.
- The search may lead to a basement sequence after the needle is delivered.
| Search Element | Recommended Action | Reason |
|---|---|---|
| Ordinary hay | Clear it in concentrated sections | Creates a visible search area |
| Rainbow hay | Collect whenever possible | Produces better cash returns |
| Gems | Pick them up during digging | Helps reach the drone requirement |
| Exposed interior | Inspect carefully | The needle may be hidden inside |
| Farmer objective | Return the needle after finding it | Unlocks the next story moment |
Make a controlled opening rather than attacking random edges. A clear tunnel gives you better visibility and makes every later tool more useful.
Early Upgrade Path
Your first goal is to reduce downtime. A small bag forces frequent trips to the selling point, while low grasp capacity makes every collection cycle feel slow. Upgrade these limits before focusing heavily on tool power.
Build the First Cash Reserve
Collect ordinary hay and prioritize rainbow pieces when they appear. Sell regularly instead of waiting until movement becomes inefficient.
Improve Speed and Grasp
Use early earnings on movement speed and grasp capacity. These upgrades help you gather more hay during every pass through the stack.
Increase Storage
Buy the first bag upgrade when you have enough cash. More storage reduces backtracking and lets you continue clearing a promising section.
Buy the Pitchfork
Save toward the pitchfork after your basic upgrades. It collects a larger amount of hay at once and becomes the first major clearing improvement.
| Upgrade or Tool | Cost Mentioned | Best Use |
|---|---|---|
| Bag upgrade | $1 | Carry more hay before selling |
| Pitchfork | $8 | Remove a larger forkful at once |
| Dynamite | $25 | Open a broad section quickly |
| Drone | 40 gems | Work the pile while you continue searching |
| Leaf blower | $70 | Clear large amounts without hand collection |
Do not rush into expensive tools while your storage is still tiny. A stronger tool can fill your inventory faster, increasing the number of trips unless capacity improves first.
Tool Strategy and Farming Priorities
Each tool solves a different bottleneck. The pitchfork is useful for regular clearing, dynamite opens dense sections, and the leaf blower handles large exposed areas. Use them together instead of relying on only one item.
Pitchfork
- Strong for repeated collection
- Upgrade cooldown and hold
- Best for controlled tunnels
Dynamite
- Opens dense hay quickly
- Can reveal gems and rainbow hay
- Use before collecting remnants
Leaf Blower
- Clears broad areas efficiently
- Requires attention to overheating
- Best after a hole is established
| Tool | Strength | Limitation | Suggested Sequence |
|---|---|---|---|
| Hand collection | Low-cost starting method | Slow and limited by grasp | Use for initial cash |
| Pitchfork | Reliable focused clearing | Still needs frequent selling early | Use through narrow openings |
| Dynamite | Wide-area excavation | Requires cash and careful placement | Blast, then collect |
| Leaf blower | Fast large-area clearing | Can overheat | Use in short controlled bursts |
A practical loop is simple: place dynamite in a promising section, collect the loose hay and gems, sell the load, then upgrade the tool that is currently slowing you down. If the blower overheats, return to the pitchfork while its cooling period resets.
Use dynamite first, follow with the leaf blower, and finish with the pitchfork. This sequence exposes more space while preserving the benefits of each tool.
Search Route, Gems, and Progress Checks
The haystack is large enough that wandering can waste considerable time. Work from a recognizable opening and expand it in layers. When the interior becomes visible, slow down and inspect unusual silver-colored shapes instead of immediately clearing everything around them.
The drone costs 40 gems in the observed progression. It can work the pile while you operate another tool, but it is a support option rather than a replacement for active searching. Continue collecting gems during every blast and clearing cycle.
Needle Search Checklist:
- Upgrade speed, grasp, and storage before heavy tool spending
- Collect rainbow hay and gems during every clearing pass
- Create one deep, visible opening instead of scattered holes
- Use dynamite before the leaf blower in dense sections
- Inspect exposed hay carefully before returning to the farmer
| Progress Check | What to Look For | Next Action |
|---|---|---|
| Early search | Small opening and limited storage | Upgrade capacity |
| Mid search | Larger hole, regular gem drops | Save for dynamite or drone |
| Advanced search | Wide exposed interior | Combine dynamite and blower |
| Final search | Silver needle shape or unusual object | Stop clearing and inspect |
| Delivery phase | Needle in your inventory | Return to the farmer |
Gems can look like the target at a glance because they stand out against the hay. Confirm the object’s shape before assuming the needle has been found.
Needle Delivery and FAQ
Once you locate the needle, stop using tools and return to the farmer. The delivery triggers the next conversation and may lead to a basement scene involving the promised payment. Treat this as a story transition, not another farming stage.
The observed playthrough also reveals a locked basement, a key-related moment, and unusual events involving the farm. These details suggest that finding the needle is only the first major objective, so check the surrounding area after the handoff if you want to follow the mystery.
Q: Where should I search first in Find the Needle?
Start by creating one concentrated opening in the haystack. Expand that opening with the pitchfork, then use dynamite and the leaf blower once the interior becomes easier to inspect.
Q: What should I upgrade before buying the pitchfork?
Prioritize movement speed, grasp capacity, and storage. These upgrades reduce collection delays and make the pitchfork more useful when you purchase it.
Q: How do I get the drone?
Collect gems while clearing the haystack. The observed progression requires 40 gems for the drone, which can work on the pile while you search elsewhere.
Q: What happens after I find the needle?
Carry it back to the farmer to complete the main objective. The handoff leads into a story sequence connected to the basement and the promised payment.
Finding the needle is mainly an observation challenge after the right upgrades are in place. Clear methodically, watch for silver shapes, and return to the farmer as soon as the target is confirmed.